Hello crafters
Today's post is about paper weaving. It is incredible easy and obviously helps you to upcycle newspapers. There are many ways to weave baskets, the one I will show you today is the easiest one.


 We need newspapers, glue, scissors and few pieces of mountboards/cardboards.


- We will have to start with making newspaper tubes for paper weaving similar to the ones we use for making newspaper coasters.
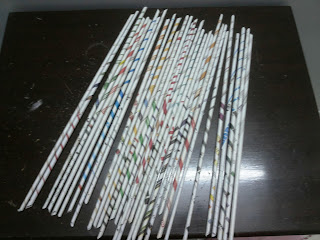
- Once, you make around 30-40 tubes, you can start with the project. The no. of tubes required will depend on the size of your project. I have made a small pen-stand and I required around 20 tubes.
- For a circular penstand. You will have to start with making a base. I have used a 2 .5 " radius circle. Cut 2 such circles from cardboard and keep them ready.

- Now take 7 paper tubes( the no. has to be odd) and arrange them on 1 of the circular base. Such that they are equidistant from each other. Arrange such that they all touch center of the base and its ok if they overlap a little. Now add good strong glue over them and adhere other base on it. Put a heave object to rest of it and wait for 15 mins for the glue to set.
- Once, completely dried, start weaving. Take a tube, and make a small loop on one of the base tubes. Glue this loop on the base tube you want to start your weaving from. Make sure it sits snug as far down as possible - at first on the base, and later, on top of previously woven tubes. Start by going in and out through each tubes, like a mat.
- As you weave, the rolled tubes will flatten out. This will make your basket stronger. When you come to the end of one tube, attach it to the next one by sliding its end inside the next tube. This will essentially make one long tube that will form your whole basket.
- Continue weaving until you near the top of the tubes or reach the desired height of your basket. When you're ready to stop weaving, fold the end of the tube you're weaving with, over a row and glue it to itself.
- Fold over the tubes to finish the basket. Cut each tube about an inch past the top of the basket. For each tube that stands on the outside, fold the end over the basket and glue it to the inside of the basket. Use a clothespin to hold it in place while the glue dries.
- For each tube that stands on the inside , fold the end over the basket. Instead of gluing these to the outside, tuck the end inside the woven basket at the second row from the top, securing it in a way that makes it fit into the weave of the basket.
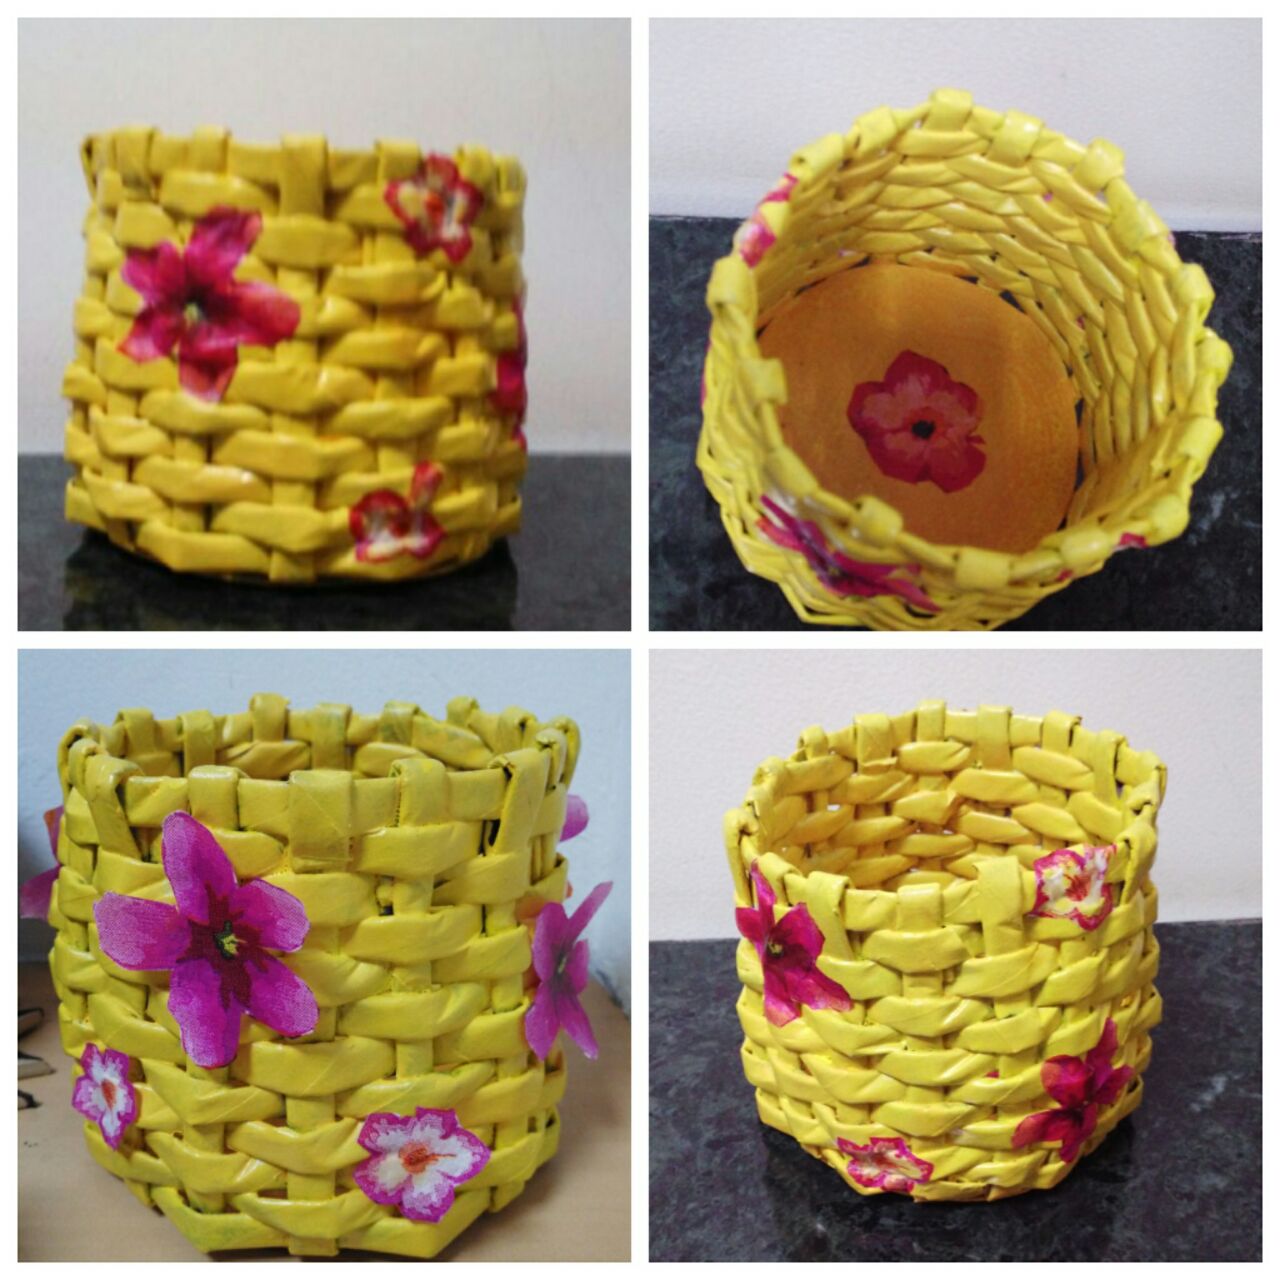
- And , you are ready with your basket.
- I give this basket as good glue wash( Mix white glue to water in ratio of 2:1), I let it dry for at-least 6 hours, before you can move further.


- You can stop here, or give another glue wash, but I then go on and add acrylic paint on this basket. Once, nicely painted, I added nice colorful paper or a doily inside the basket on the base as well as outside.


- The last step is varnish. I add two coats of varnish and my project is done and my product is ready.


- Please, remember about the curing time when you varnish any project. Do not use the project until the curing time is not over.
 This is one type of weaving. I will very soon come with more types of weaving which you can
try.
Thank you for visiting my blog and have a good day.


No comments:
Post a Comment